
Researchers have discovered that sleep deprivation has an effect on your metabolism, and if you do not get enough sleep, it slows your glucose metabolism by a lot. Read more to find out how it affects weight loss goals and more.
Researchers have discovered that sleep deprivation has an effect on your metabolism, and if you do not get enough sleep, it slows your glucose metabolism by a lot. Read more to find out how it affects weight loss goals and more.
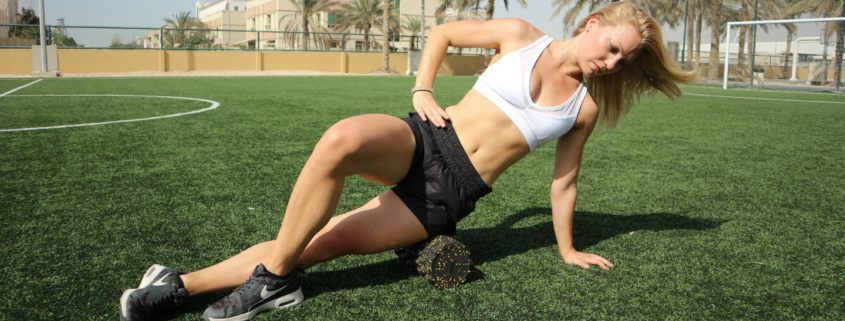
You have sore muscles and do not know what to do and how to ease the pain?
I found it very helpful to incorporate a foam roller after my training sessions and massage out my muscles for a better recovery and healing process. Find out what foam rolling is, how to use a foam roller efficiently and what exercises you can do with it.
Tips for beginners on how to lose weight and get in shape without equipment The importance of exercising and caloric intake There are three major myths that we believe to be true, but are they really?

What should I wear during the cold winter months and do I need to eat differently are questions I get asked a lot when in Europe, where the temperatures drop below freezing. Here are some helpful tips for you.

The best time of year is the holiday season, and although it is a time for giving, it can be unforgiving on your waist line. If you don’t consciously prepare yourself for the busy time of year with incredible amounts of food, you could end up five pounds heavier and sitting on your couch in January wondering when the last time you worked out was.

The cool weather has come in fast and the brisk breeze makes us envision delicious fall foods that warm us just by their smell. At this time of year, most of us are under the pumpkin craving spell. Check out these amazing fall pumpkin recipes.

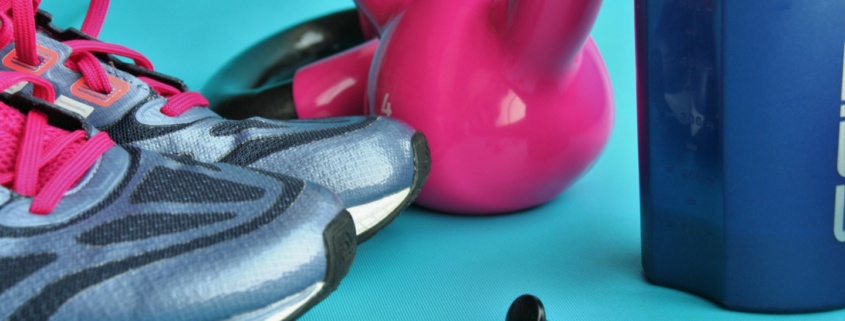
8 Tips to Help Your Body Recover Faster After a Workout In order to get the most out of your workout, you need to not only do the hard work, but you need to recover properly as well. Read more to find out how.

These days everyone is very busy. Whether you have multiple jobs or just have days full of too much to do healthy meals often fall away when it comes to time. There is no reason that has to be the case.

Fitness myths you have believed for too long! It’s easy to fall into the trap of fitness myths as they get passed along from friends, family members or third parties. You figure it must be true because everyone says so, but is it really?

Motivational strategies that help me stay on track Motivation is what gets you started, habit is what makes you going. Staying motivated and dedicated is one of hardest things, while managing our busy lives, taking care of our families, making sure our job is done the best we can and taking a few minutes to […]